Create a Progress Report using ProgressBook Special Services
This is a step-by-step guide to creating a ProgressReport using ProgressBook SS
Log into ProgressBook Special Services
Access the Login link either under the Web Resources menu of the district home page or from the link at the top of the normal ProgressBook
Choose Open Tasks
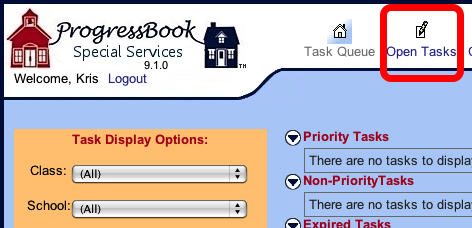
Click the Open Tasks link at the top of PB SS
Choose a Class, then a Student
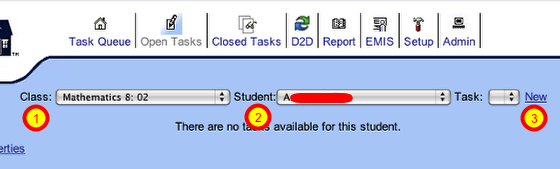
1. Use the Class popup menu to choose a class
2. Use the Student popup menu to choose a student
3. Click the NEW link to the right of these menus
Set Task Settings for Progress Report (IEP)

1. Choose the Task Template from the Popup menu
2. Give a unique name based on the nine weeks
Progress Report 09-1 indicates that this
is for the 1st nine weeks of the 09 school year
3. Set School Year
4. Set proper Start, End and Due dates
Start Date cannot be earlier than the current date
5. Choose the current IEP from the Create from Previous Task popup menu
Complete Progress Reports for each Goal

1. Click each Goal to rename and complete
2. Check completed box when finished with each
3. Click the print boxes when finished all goals,
then click the print button at the bottom
Finalize the Progress Report
Finalize the Progress Report by clicking the Close Task button and the bottom. Once you Close the Progress Report, you can no longer make any changes to it.