First Login & Class Cleanup
First login will include resetting your password, verifying your email address, editing your class listing, and grouping classes together
1 - ProgressBook Login Page
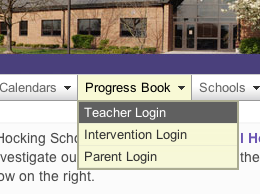
The ProgressBook Teacher Login page can be found by going to the district website, then choosing Teacher Login under the ProgressBook menu, or directly by entering the following URL.
http://loganhocking.k12.oh.us/gradebook
2 - Teacher Login Info
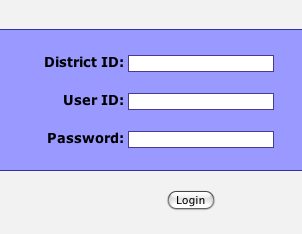
Teacher login info:
District ID: LH
User ID: LH_FLAST (in most cases)
Password: ###### (initial password will be shared)
3 - Change Password
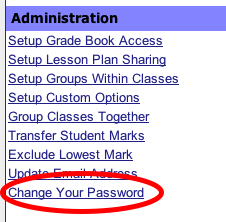
Under Administration, click the Change Your Password link. Enter your Old Password, your New Password, Confirm your New Password, then click the Change Password Button
4 - Add or Update your email address
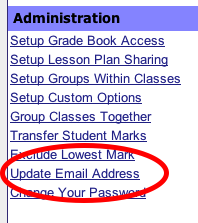
Under Administration, click the Update Email Address link. Enter your full Logan-Hocking email address, then click the Update button
5 - Edit your Class Names - pt 1

Your Classes are listed by name and section number by default. You will need to change or update the name to include period, and semester information. Click the Edit List link to begin.
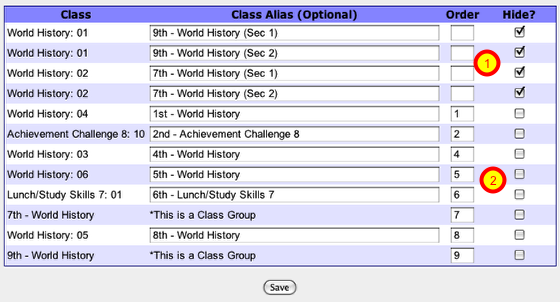
6 - Edit Class Names - pt 2
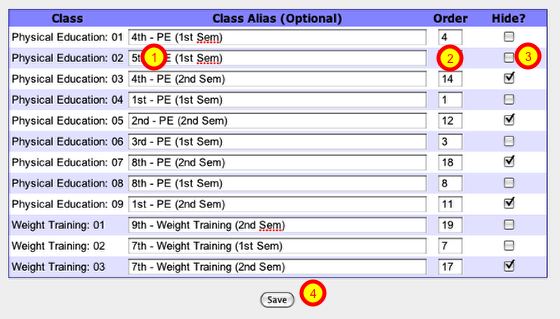
1 - In the Class Alias box, you can rename the class to include Period and Semester or anything else that helps you tell your classes apart. For example, I would rename the first class listed in the screenshot to 4th Period PE - 1st Sem.
2 - Changing the class names does not change the order. Enter numbers into the order column to set it the way you want it.
3 - You can hide classes that you don't need to see. A teacher with semester classes would want to hide 2nd semester classes during the 1st semester.
4 - Click the Save button when you finish editing your class listing.
7 - Cleaned up Class Names
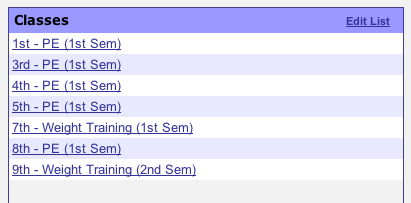
By using Class Aliases, Ordering and hiding the classes window is much clearer. At the beginning of 2nd semester, this teacher will need to change the hiding choices to show their 2nd semester classes.
8 - Grouping Classes Together
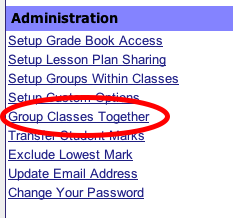
For a number of reasons, there may be times that record keeping will be easier if you are able to group classes together. To begin this process, click the Group Classes Together link under the Administration section. On the following screen, click the Add a Group link on the lower left of the page.
9 - Naming the Group & Choosing classes for the Group
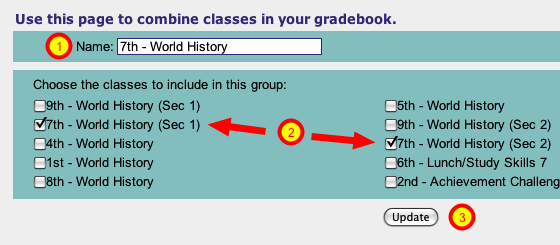
This teacher officially has two sections of World History 7th period, with one section being mainstreamed intervention students. However, since all students will be in 7th period together, it maybe easier if these two classes were combined for the gradebook.
1 - Name the class 7th - World History (to follow naming pattern)
2 - Choose the two 7th period sections to be in this group
3 - Click the Update button
This teacher would also group their two sections of 9th period World History
10 - Edit the Class List to Show Groups
By going back to the Edit List in the Classes window of the Grade Book section, we can complete the grouping process by hiding the grouped sections and ordering the periods